


How Winter Melon Paste Is Made: A Step-By-Step Process
As a classic filling for traditional Chinese pastries, winter melon paste is loved for its sweet taste and delicate texture. Whether it is used in wife cakes, shortbread, or modern desserts, winter melon paste can bring a unique flavor. For DIY baking enthusiasts, homemade winter melon paste is not only simple and fun, but also allows you to adjust the sweetness and flavor according to your personal taste.
Step 1: Prepare the ingredients
The first step in making winter melon paste is to prepare fresh Winter Melon. Choose a mature Winter Melon with a smooth skin and no spots. About 1-1.5 kg is enough for home production. In addition, you need to prepare 200 grams of white sugar, 50 grams of vegetable oil, and optional seasonings such as dried osmanthus or shredded tangerine peel, which can add fragrance to the Winter Melon Paste. Make sure all tools are clean to ensure the hygiene of the filling.
Step 2: Prepare the Winter Melon
Wash and peel the Winter Melon, remove the seeds and the soft inner core, and keep only the firm flesh. Cut the fruit into small pieces, about 2-3 cm in size, so that it is easier to steam. Put the cut winter melon pieces into the steamer and steam them on high heat for 20-30 minutes until the winter melon is completely soft and can be easily pierced with chopsticks. After steaming, let it cool slightly and use a spoon or blender to mash the winter melon into a paste, making sure there are no large pieces left.
Step 3: Boil the winter melon puree
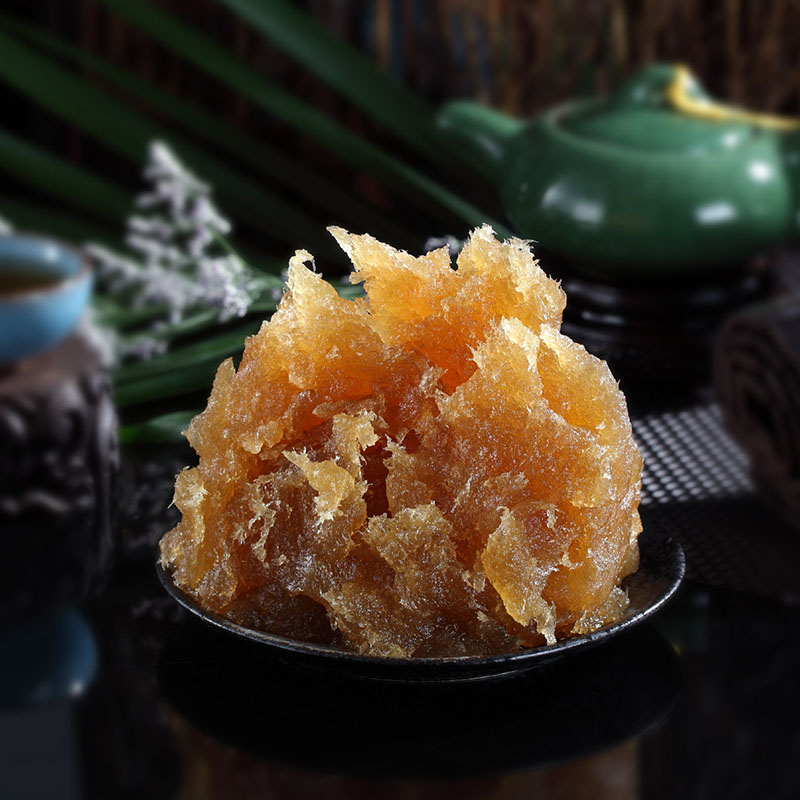
Pour the winter melon puree into a non-stick pan, add sugar and vegetable oil, and stir-fry over low heat. The winter melon puree has a high water content in the early stage, so it needs to be stirred constantly to evaporate the water and avoid sticking to the pan. After frying for about 30 minutes, the winter melon puree will gradually become thicker and the color will change from white to light golden yellow. At this time, you can add a small amount of dried osmanthus or shredded tangerine peel to add flavor. Continue to fry for 10-15 minutes until the winter melon puree is smooth and sticky, and it can drip slowly after being scooped up.
Step 4: Cooling and storage
The fried winter melon puree needs to be completely cooled before use. During the cooling process, the filling will thicken further and taste better. Put the cooled winter melon puree into a clean, sealed container and refrigerate it. It can be kept for about 1 month. If you need to store it for a long time, you can freeze it after dividing it into portions and thaw it in advance before use. Homemade winter melon puree does not contain preservatives. It is recommended to use it as soon as possible to keep it fresh.
Usage suggestions
Homemade winter melon puree has a wide range of uses. It can be used to make traditional pastries such as shortbread, as a filling for bread and egg tarts, and even with Western desserts such as pies and cakes. DIY winter melon puree not only allows you to experience the fun of making it, but also allows you to adjust the sweetness and flavor according to your preferences, bringing a personalized baking experience.
With the above steps, you can easily make delicious winter melon puree. From material selection to cooking, every step reflects respect for traditional craftsmanship, and also provides more possibilities for modern baking. Why not try this winter melon puree recipe to add a fresh Chinese flavor to your dessert creation.